Vice Article

Vice Article


Fashion Photography
Fashion photography is one of the most popular fields within photography and one of the earliest, dating back to almost 1856 when Adolphe Braun published a book composed of 288 photographs of a Tuscan Noblewoman wearing her official court garb.


Tuscan Noblewoman (Above)
Fashion photography is a genre of photography that is devoted to displaying and advertising clothing and accessories. Modern fashion photography was first seen in French magazines such as "La Mode Practique". Modern fashion photography became truly famous with the release of magazines such as Vogue, Conde Nast and Vogue's rival Harpers Bazaar. In 1911, photographer Edward Steichen was "dared" by Lucien Vogel, the publisher of "Jardin des Modes" and "La Gazette du Bon Ton", to promote fashion as a fine art by the use of photography. According to Jesse Alexander, This is "now considered to be the first ever modern fashion photography shoot".

Still Life Fashion Photography

This is a subdivision of fashion photography and involves the process of capturing garments on their own such as with a white background, this is in order to give the customer a full view of the product they are thinking about purchasing.
Still life photography has given online retailers an opportunity to showcase their products separately without having to pay for models etc. This has been very useful for the marketing of retailers and has allied the industry in its attempt to make more profit and expand further. There are two types of this photography; 
"Flats" where the garment is laid flat and shot from above and there are also "Invisible Mannequins" where a mannequin is dressed with the garment and a photo is then taken and the inside of the garment behind the neck is photoshopped in. 
Advertisement Photography
Advertisement photography is a type of photography that is focused around selling a product, hence often the pictures have the product as its main focus perfectly in the centre of the canvas as the product is the reason for the whole picture. Advertisement photographs are usually taken by a photographer hired out by an advertising agency to market a product. 


There are two key focuses photographers and companies advertising the product tend to adhere to. These being, either the design of the product (e.g the sleekness of the product or the complexity of it), or the functionality of the product (e.g the left picture referring to the pure horsepower of mitsubishi's automobiles). Advertisement photography as much as it highlights the best features of a product, it ignores the worst features making advertisement photography bias towards the product its selling.


Mitsubishi Advert

Landscape
Landscape photography is a massive market within photography, everywhere you go you will see beautiful pictures that will make you question how they could possibly even be shot on this planet. Landscape photography is a very clouded area photography in the sense of, everyone has their own definition of landscape photography, some say it can be any shot as long as it contains a vast amount of land in it. However, this differs to many others definition as they are less lenient, with them saying it has to be true country land instead of cityscapes and contain no human or wildlife distracting from the subject of the landscape itself. Therefore, as much as landscape photography may be rough around its meaning it doesn't hold back the fact that everyones idea of landscape photography is always a beautiful example of a section of the earth be it vast or secluded.
Someones idea of landscape photography can range from a raw landscape to a cityscape, however one fascination found within landscape photography is the awe produced by the sky. The sky plays a prominent part in many landscape photographs, this I believe is because the sky is gigantic and reflects off of the whole picture and casts magical blending colours across the photo itself, and the fact that all of this is a natural occurrence shocks us even more. From light and dark blue afternoon skies to warm orange coloured sunsets.

Documentary Photography


The purpose of Documentary photography is to capture an event in order to document it in history. This can consist of a range of bad and good events, most documentaries show an impartial opinion on the topic they are reporting. This form of photography is commonly used for journalism, this is as most documentary photography/video is considered to be fact. Furthermore, telling it how it is, is a very popular thing within newspapers. Therefore, documentary photographs tend to contain as much as possible of what's happening around the reporter or as much visual information on the topic.

Many documentary photos are about the happenings on the planet of that time, for example, this picture was featured in a newspaper and online blog and highlights the start of war. As you can see from the picture the sheer power of the canon when firing has lifted most of the stones 3ft off the ground, this intimidates us and as it does it captures our attention, therefore demonstrating a good example of documentary photography. As much as this picture is in full colour many if not the majority of pictures taken for documentary purposes are black and white. This is to add emotion to the picture and in turn capture more viewers attention.




(Carol) Unit 57 - Task 1

Photoshop Experiments

Original Shot


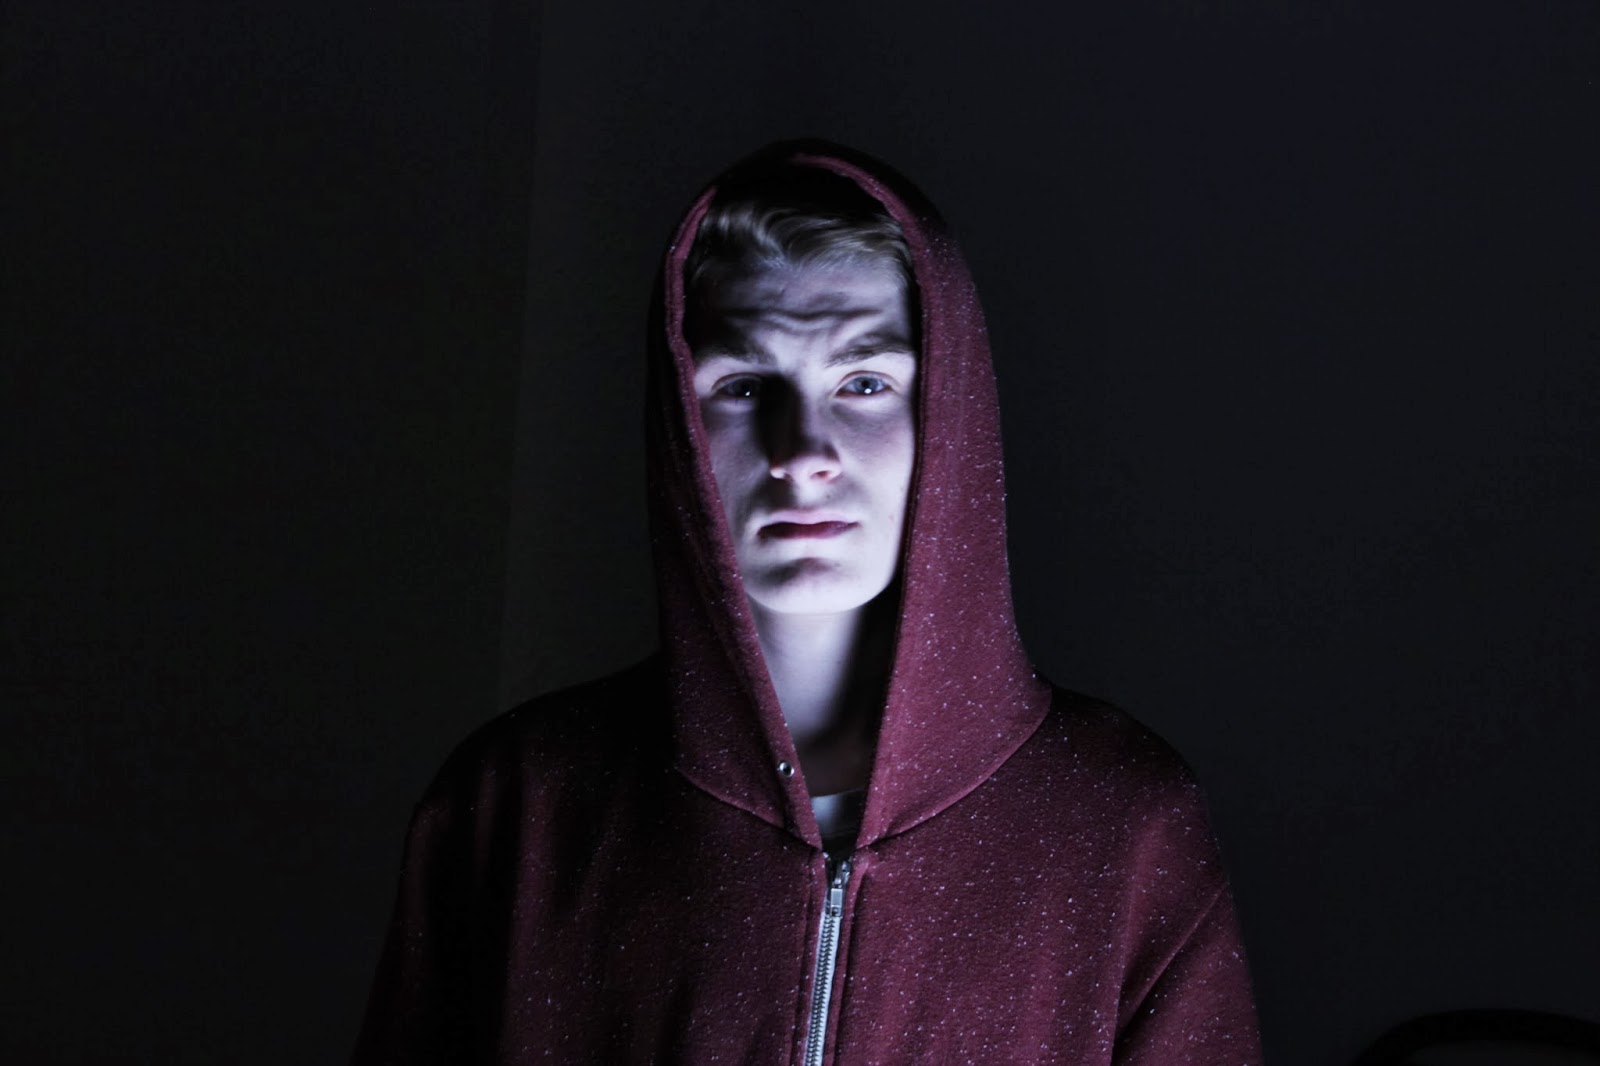
This is my original photo that I started with, I chose a photo I took using low key lighting.


Exposure


To change the exposure of the image I clicked "image" in the toolbar, then highlighted "adjustments" and selected "Exposure", it then opened a tab with three sliders on it… My intention was to brighten the dark image so some of the facial features were more impacting.


The three sliders labelled "Exposure", "Offset" and "Gamma Correction" appeared. I then proceeded to experiment with the sliders in order to improve the overall look of my picture. As I had already used low key lighting to achieve certain exposure on the photo already, I only increased the exposure and gamma correction slightly.


After Exposure

Colour


For my first colour example I wanted to increase the red filter so the jacket will become more immediate and apparent.
I increased the red/cyan slider to +25. Doing so also created a warm red glow across the face instead of it being a pale white.


After Colour
Extra


I also increased the"shadows" by 15% in order to lighten the area of the whole photo in a natural looking way.


Colour Example 2 (Sunny Mood Filter)


In order to create a sunny/warm mood within my picture I first slightly increased the brightness by 5, I then proceeded to decrease the contrast by -45. This was done so I could clearly imitate the bright suns glare.


Leading to me then being able to create the strong yellow accent of the suns warmth, in which to create this I dragged the "yellow/blue" slider towards yellow unto -38 to create the illusion of the sun.


Specific Types of Photography

Photographers Introduction

There are many types of photographers around the world, and this is all defined by the incentive they use to encourage them to take photographs, and what they take photographs of. These genres can either be professional (Occupational/Job) or hobby based. Some of the photography genres are...

                                                                                    
                                                                                    Light Painting

Light painting is done using a variety of different materials that create a distinctive light and then shapes are drawn using that light. A lower ISO and/or aperture is needed to capture a picture such as this (Left). Also a higher shutter speed is needed preferably "BULB". Light paintings can be complicated to do and involve the shutter being open for a fairly long time, leaving error to become a fairly common possibility however this "quirkiness" adds to a more rugged photo, which adds a aesthetic likeliness to it.


Sports Photography
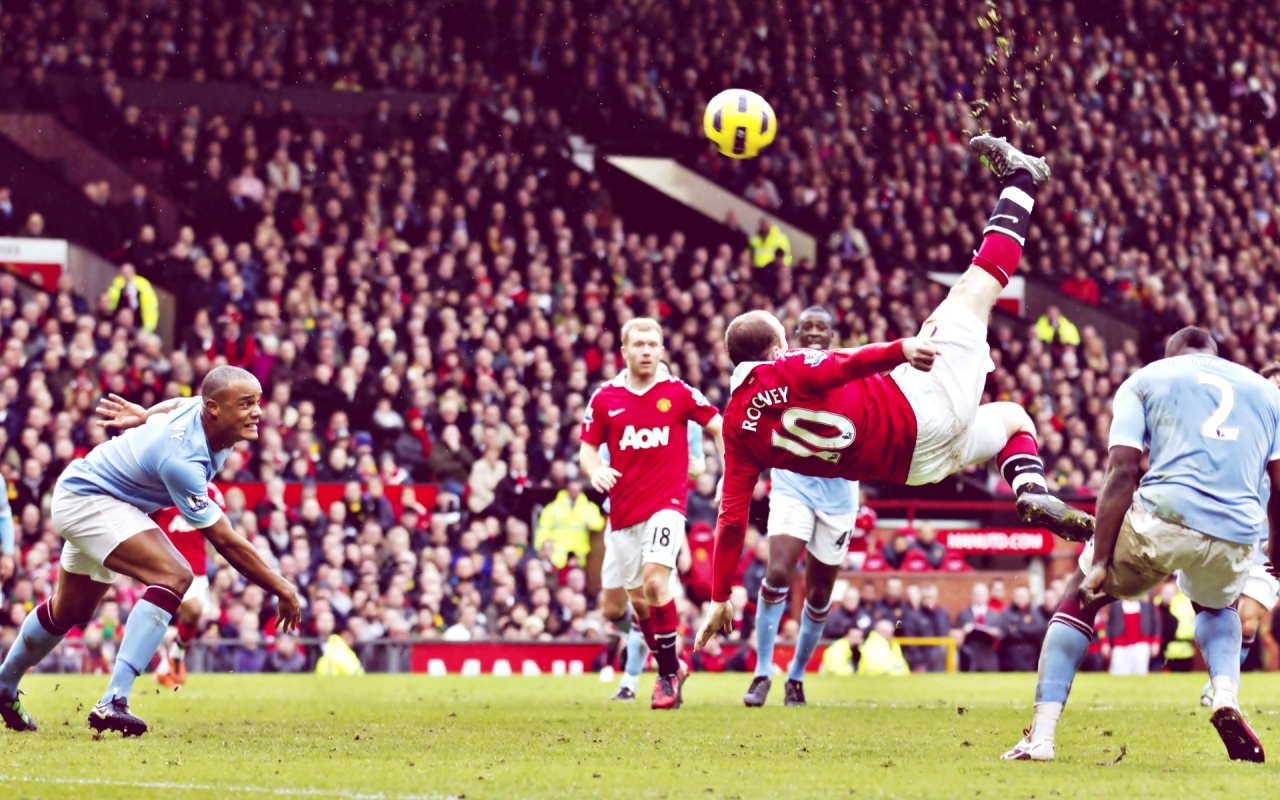
Sports photography is one of the most popular types of photography especially within Football, basketball etc. as these sports have a very extensive audience.
Sports photography requires a minute shutter speed so that the picture can be captured without blur, unless intended.
As most pitches/courts that sports are performed on are well lit, a medium to high ISO is required.


Street Photography
Street photography involves the capturing of human activity/inactivity on the street, it is not about capturing the street but capturing the soul and life of the streets. They tend to have a story about them and can be very evocative. Many street photographs are black and white to create more emotion within the picture and can range from all ISO's and Focus levels depending on the subject and the message they are trying to convey.

Studio Photography
Studio photography is often used for advertising purposes such as products from clothes to cars, and involves a bright white background and a high quality shot to focus more on the actual product and nothing else. Studio photographs can use any lever of focus however mainly have a higher ISO and aperture as the studio is very well-lit already.


                                                                             Wild life Photography
Wild life photography is a fairly popular type of photography as it is appreciated by almost anyone and pictures can differ in background due to them being from different parts of the globe. All sorts of different focus levels however a narrow depth of field is mainly used to target just the animal rather than it's background but in certain situations such as (Left) where the landscape needs to be apparent.

Picture Editing

Album Cover Photo

My original photo was taken on a Olympus Zuiko Digital ED with a 14-42mm Lens, The settings I used to capture the picture were... ISO 400, 15mm Zoom, f/22, 13.0s Shutter Speed. I used these settings as the lighting was already very dark and yet the focus on what to capture was the light trails of the sparklers rather than the figure(me) stood there. Therefore choosing an ISO of 400 meant that the picture would capture the light trails, slightly me and hardly any of the background behind me, also I had a 13.0s shutter speed therefore I had to balance the light capture despite I also had the aperture at its highest to also balance the amount of light that was capture so in turn it would not ruin the picture. However, despite all these settings I made an honest mistake in not setting the camera to take the picture as a RAW file, so the picture was taken as a JPEG but despite that I was still satisfied with the quality of the end product.
Original Photo


My edited photo was done using Photoshop CS6, the features i used to edit my photo within photoshop were... Shadows/Highlights, Curves and Brightness/Contrast. At first I used Shadows/Highlights to fade out the background and the figure(me) and make the LightPainting stand out more, I also used Curves to make the background fade slightly but without effecting the resolution and quality of the picture. I in turn used Brightness/Contrast to change the the way everything stands out using the brightness bar and the slightest movement of the contrast bar as the quality of the picture was lost with too much use of the contrast bar. I also used the warp text feature to get the "curve" look on the below text, in order to do so I had to rasterize the text first.

First Edit

After my first edit I started to contemplate on ways in which I could improve the look of my photo without adding too much to spoil the authenticity of the picture itself. Therefore, I decided to improve the "wonky" look of the below text, so I retyped out the text and used the "create warped text" button to create the symmetrical arc shape. I also changed the tracking on the text to make the letters closer together so the text wasn't stretched too far across the picture. Next, I decided to experiment with the colour of the light painting, in which I had to cut that certain part of the picture out, and then select blending options, then selected to add a gradient overlay and reduce the opacity so the colour wasn't solid and created more of a highlight effect.

Final Edit

White Balance Research

White Balance

The white balance setting on the camera effects how all the colours will be presented, and can be used not only in a serious context but also to make intentionally abstract photos, with the right techniques you can make a dull photo look eye-catching and different.


Adan The Badman


         -Tungsten Under Daylight-
When using the white balance setting on "tungsten"when under daylight, the photo will become of a more blue origin, this is as the camera will try to reduce the effect of tungsten light to create a clearer image however this picture is shot in daylight.


Google Images


           -Daylight Under Tungsten-
When using the white balance setting on "daylight"  when under tungsten the photo will be of a more yellow origin, this is as the camera will try to add a more natural effect to tungsten light for a clearer image however this picture is shot in tungsten.


Album Cover Shots

Album Cover Shots


Before we took any pictures for my album cover we tested how long it would take to draw the certain things we aimed to make so we could set the right settings on the camera...


 At first we used a torch to see how well the settings performed. For the first couple test pictures that we took with the torch we used the setting of...

ISO: 400

Focal Length: 29mm

Aperture: f/18

Shutter Speed: 6.0s

We used these settings as we took these shots in the dark so therefore there was almost if not no light therefore The ISO could be raised to 400 and the aperture could be lowered to f/18, such darkening settings were used as the shutter speed was at 6.0s letting in a lot of light anyway, so the ISO and aperture were set to balance it out.


Next...


With the main shots which we took we used sparklers which we had a limited supply of, therefore this is why we took test shots; the settings used were:

ISO: 400

Focal Length: 17mm

Aperture: f/22

Shutter Speed: 10.0s


 I used A shorter focal length on these pictures as the shapes created in a "wing" formation and the "name" were a fair bit larger than the test shots therefore I needed to see the whole frame, also I had to use a higher aperture as I also increased the shutter speed therefore i had to balance it out yet again. I used a longer shutter speed as the shapes created were more complex and took longer than the original test shots.